
Railsaver Tape offers good protection for the sides of your hardboard. Here in the video blog, Anne explains how to apply the tape correctly:
Tools required: suitable tape, soapy water, squeegee
Set up your work environment: Jack up the new or cleaned, dry board so that you can walk around it comfortably and both sides are easily accessible. You need:
- the right railtape
- a spray bottle with soapy water (water and a little washing-up liquid) and
- a squeegee, available in each Hardware Store
Attachment of the tape
Spray the side of the board with the soapy water. Its purpose is to allow you to apply and correct the tape before it is firmly painted. The tape should not be attached exactly to the side, but a little further forward, so that the area where the paddle can come into contact is protected.
Glue the tape to the front and then gradually peel it off and press in the middle so that it initially holds. Then use the squeegee to press outwards from the center and squeeze out the air and soapy water to the outside. Air bubbles can also be squeezed out in this way.
If the railtape is stuck on one side, repeat on the second side at the same height.
Then the board should not be brought into the water for at least 12 hours so that everything can dry.
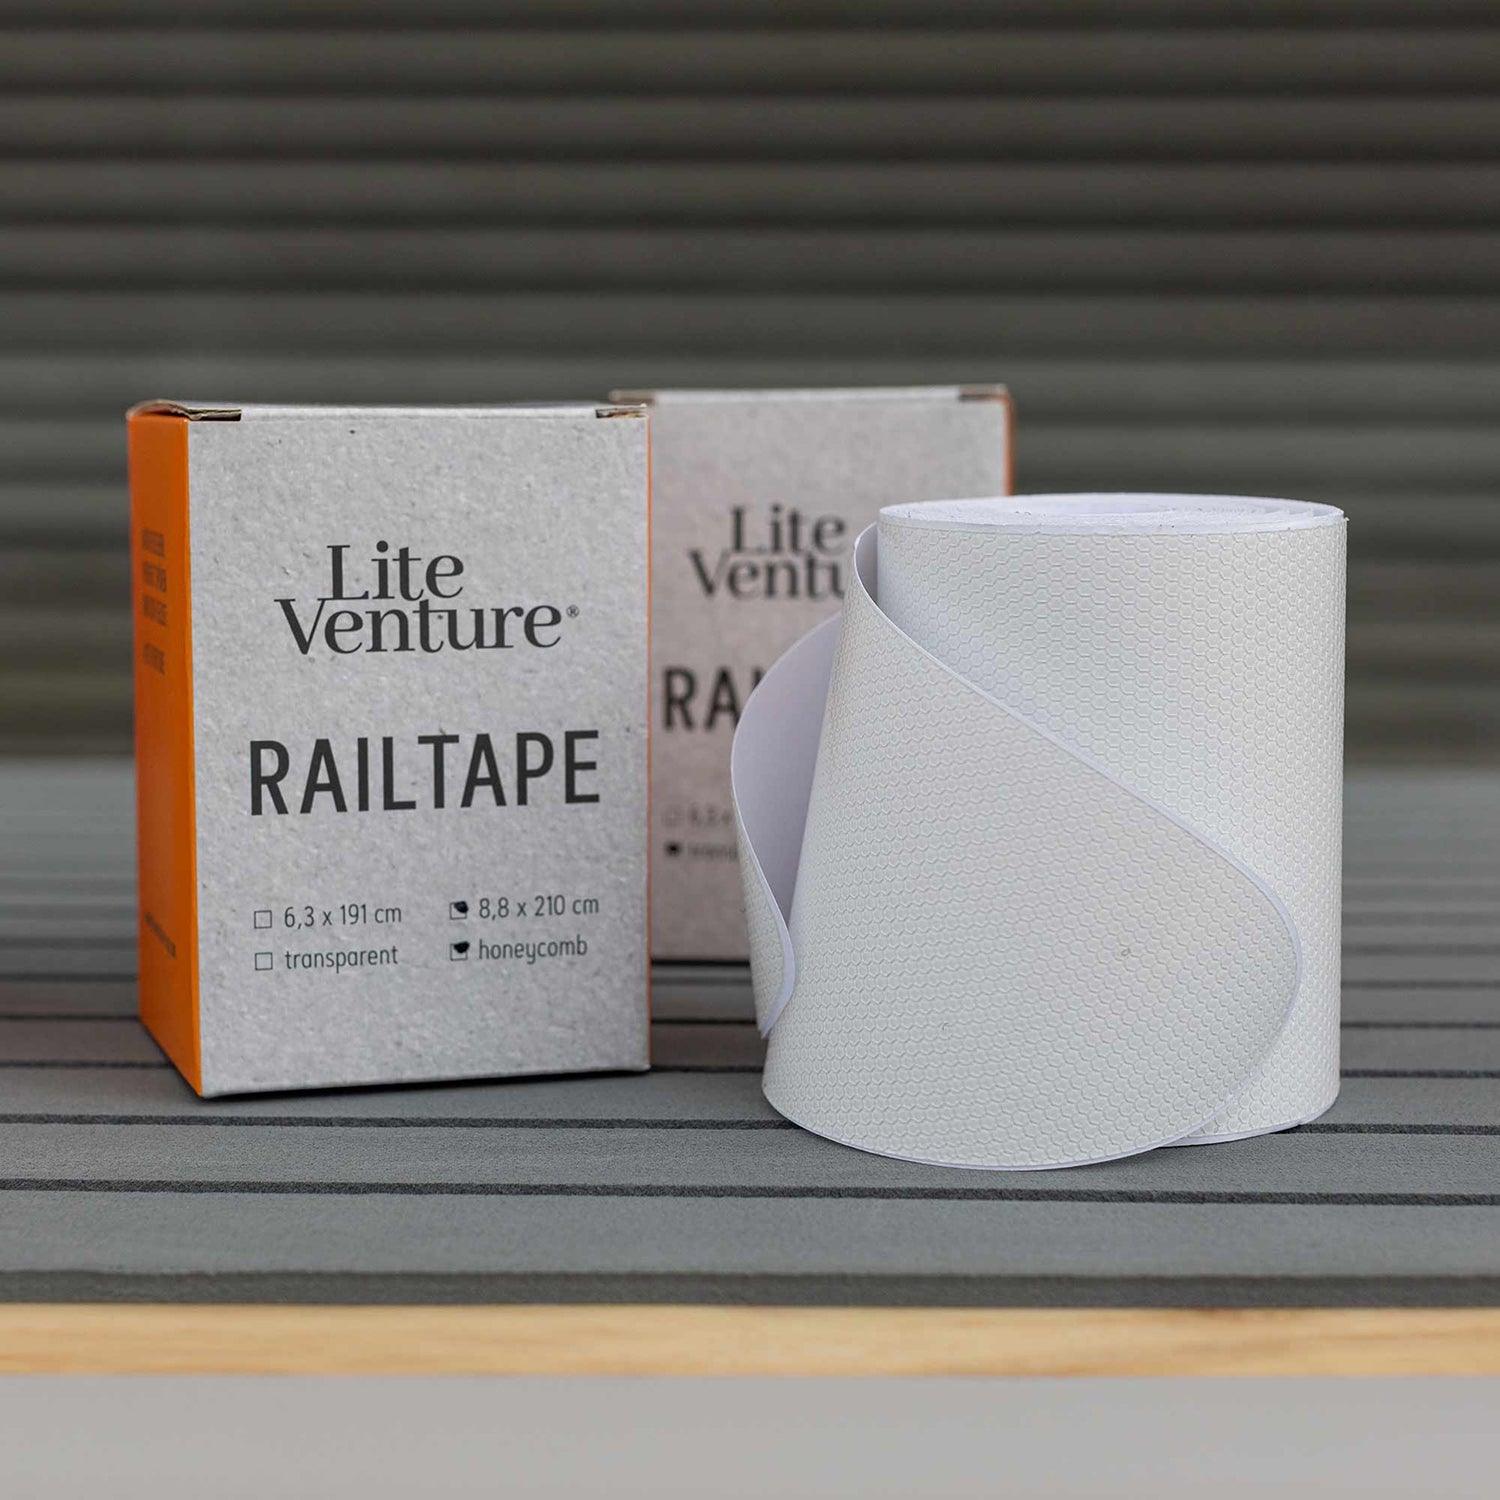
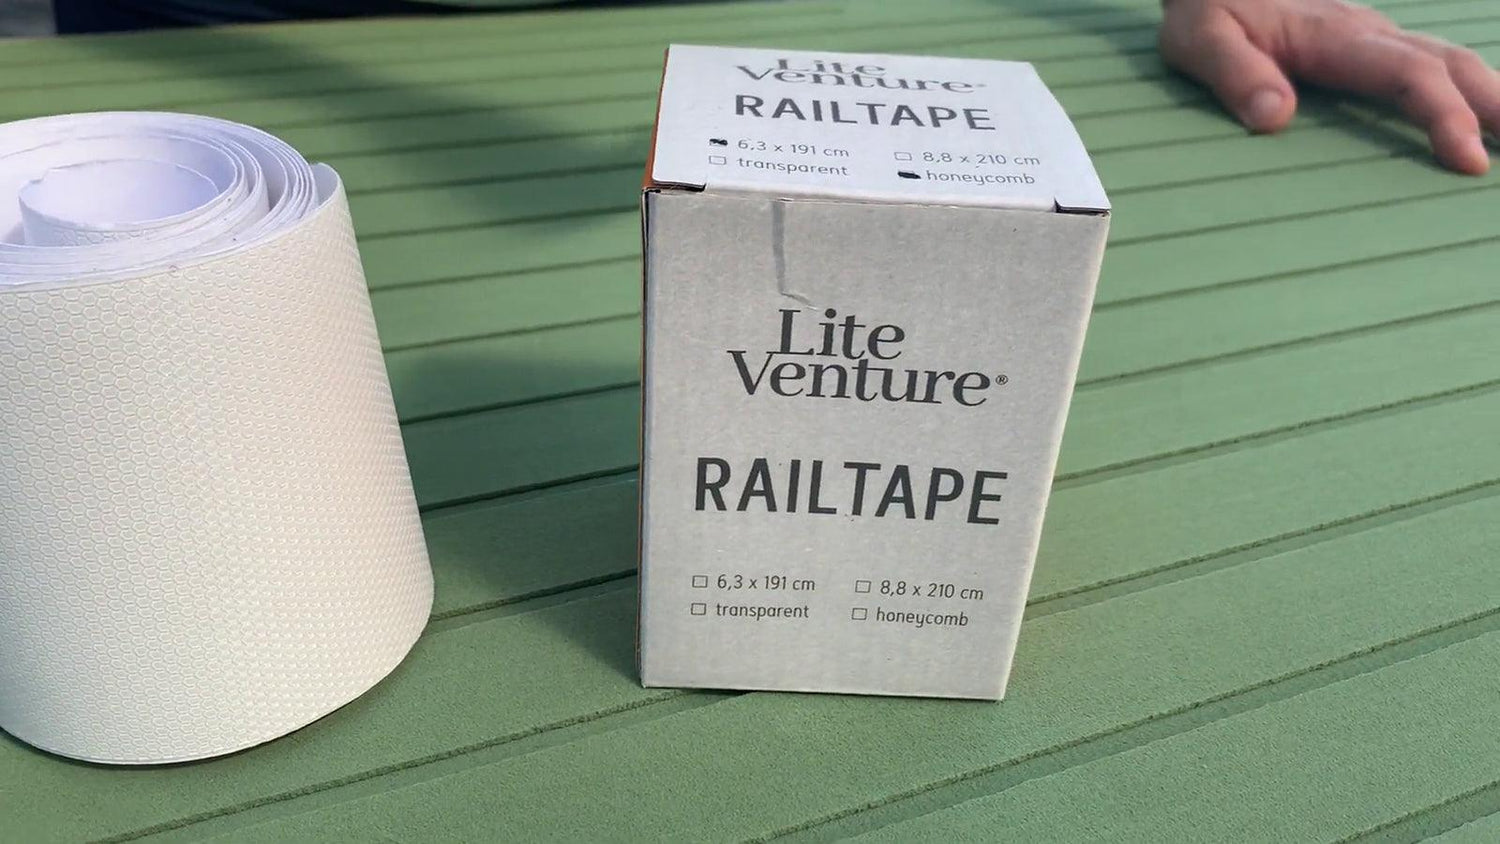
Railsaver Tape
The sides of your hardboard SUP get reliable protection against scratches and marks from paddling with the Railtape. It is not always possible to avoid contact with the board with the paddle, and the tape prevents scratches and stains.